
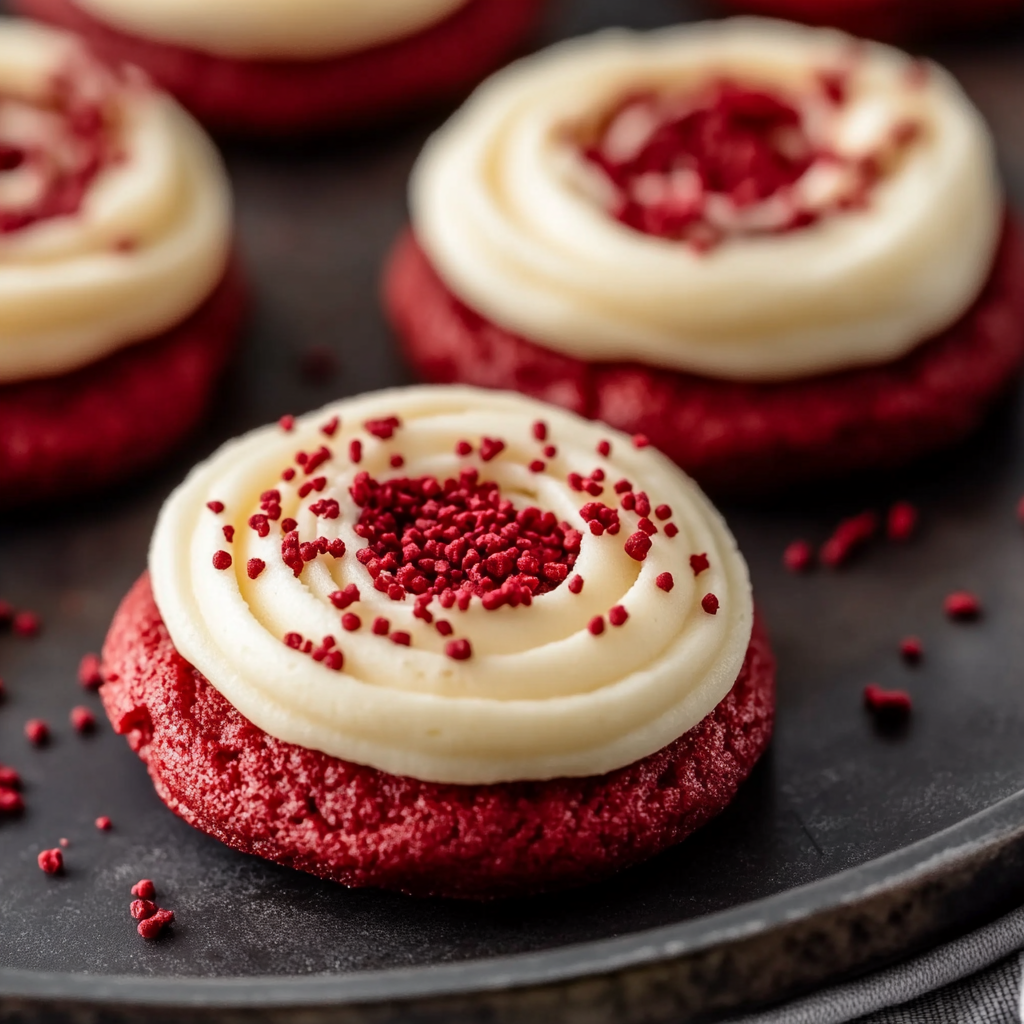
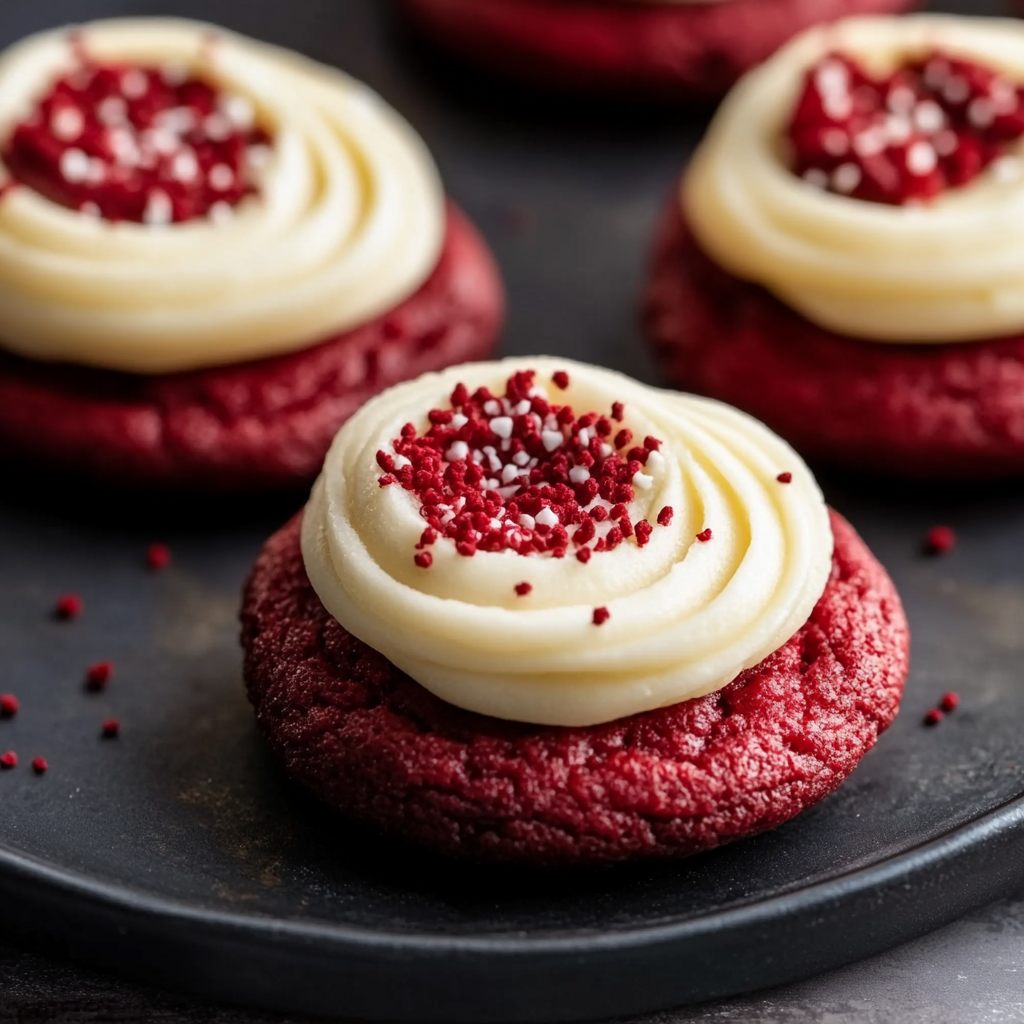
Frosted Red Velvet Cupcake Cookies

A playful hybrid: chewy cookies with domed, tender centers like cupcakes, finished with silky cream cheese frosting and cookie-crumb garnish.
Why You'll Love This Recipe
- Delivers the best of both worlds: a cookie with a domed, cupcake-like center that stays tender while retaining classic chewiness along the edges, perfect for bite satisfaction.
- Ready in about 50 minutes total — active prep is roughly 20 minutes, bake time about 12 minutes — making it a great last-minute dessert for gatherings.
- Uses pantry staples like all-purpose flour, cocoa, and sugar with a splash of vinegar and vanilla to deepen the classic red velvet profile; easy to source ingredients.
- Make-ahead friendly: dough can be chilled or frozen; frosted cookies store well and travel without losing texture, ideal for gifting or potlucks.
- Customizable color intensity with liquid-gel or powdered food coloring, and the frosting is flexible — pipe it for a polished look or spread it rustic-style for a cozy finish.
Personally, I love how these cookies became my go-to when I need something that looks special but is simple to reproduce. Family members request them for birthdays and small celebrations because they slice through that middle ground between casual and refined, and I’ve learned a few shortcuts that keep them consistent every time.
Ingredients
- All-purpose flour (1 1/2 cups): Use spoon-and-level technique for accurate measure; King Arthur or similar brands give consistent texture and structure to the domed centers.
- Unsweetened cocoa powder (1/4 cup): Dutch-process gives a deeper chocolate note, but natural cocoa works too; it balances the red color and adds subtle bitterness.
- Instant milk powder (1 tbsp) & cornstarch (1 tbsp): Milk powder enriches crumb and flavor; cornstarch keeps the interior tender and slightly cake-like without weighing it down.
- Baking powder (1/2 tsp) & baking soda (1/4 tsp): Leavening that ensures a gentle rise and those cupcake-like domes; measure carefully to avoid over-rise.
- Butter and oil (1/2 cup butter + 3 tbsp vegetable oil): The combo of butter and neutral oil yields flavor from butter and softness from oil — the secret to tender yet chewy edges.
- Sugars (1/2 cup packed brown + 1/2 cup granulated): Brown sugar adds moisture and depth; granulated keeps the cookie’s structure. Use light or dark brown for slightly different notes.
- Egg (1 large), vanilla (1 tsp), and white vinegar (1 tsp): Classic red velvet chemistry: vinegar reacts with baking soda for lift and tang, while egg and vanilla add richness and aroma.
- Red liquid-gel food coloring (1–2 tsp): Gel or powdered color is best so you don’t add extra liquid; add to desired intensity — color deepens after dry ingredients are folded in.
- Cream cheese frosting: 3 oz block cream cheese, 6 tbsp softened butter, 1 tsp vanilla, and 1 1/2 cups powdered sugar. Use full-fat cream cheese for stability and flavor.
Instructions
Preheat and prepare baking sheets: Preheat oven to 350°F. Line two large baking sheets with parchment and set aside so you can scoop continuously without waiting for cooling. Position racks in middle of oven for even browning. Mix dry ingredients: In a medium bowl whisk together 1 1/2 cups flour, 1/4 cup cocoa, 1 tbsp instant milk powder, 1 tbsp cornstarch, 1/2 tsp baking powder, 1/4 tsp baking soda, and 1/4 tsp salt until evenly distributed. This ensures even lift and a uniform red hue when combined with the wet mix. Cream fats and sugars: In a large bowl whisk together 1/2 cup softened unsalted butter, 3 tbsp vegetable oil, 1/2 cup packed brown sugar, and 1/2 cup granulated sugar until smooth and glossy. The oil keeps the interior tender while butter adds flavor and helps edges crisp. Add egg and flavoring: Whisk in 1 large room-temperature egg and 1 tsp vanilla until incorporated. Stir in 1 tsp white vinegar and 1–2 tsp red gel food coloring until bright — the mixture will look very vivid at this stage and mellow after dry ingredients are folded in. Combine to form dough: Fold dry ingredients into the wet mixture until you have a thick, slightly sticky dough. Do not overmix; stop when streaks disappear. The dough should hold shape but be tacky to the touch. Scoop and bake: Use a large 3–4 tablespoon cookie scoop to portion dough onto prepared sheets, leaving about 3 inches between each cookie. Bake in the center of a 350°F oven for 12–15 minutes, until cookies are puffed and the bottom edges are just turning a very light golden brown. Cool before frosting: Cool cookies on the sheet for 5 minutes, then transfer to a wire rack to cool completely before frosting. Frosting warm cookies will melt and slide off; patience gives a neat finish. Make frosting and finish: In a medium bowl beat 3 oz cream cheese and 6 tbsp softened butter until smooth and lump-free. Add 1 tsp vanilla and 1 1/2 cups powdered sugar; beat until silky. If frosting is too soft, chill 30–60 minutes. Pipe or spread frosting on cooled cookies and finish with crumbs from any misshapen cookies for decoration.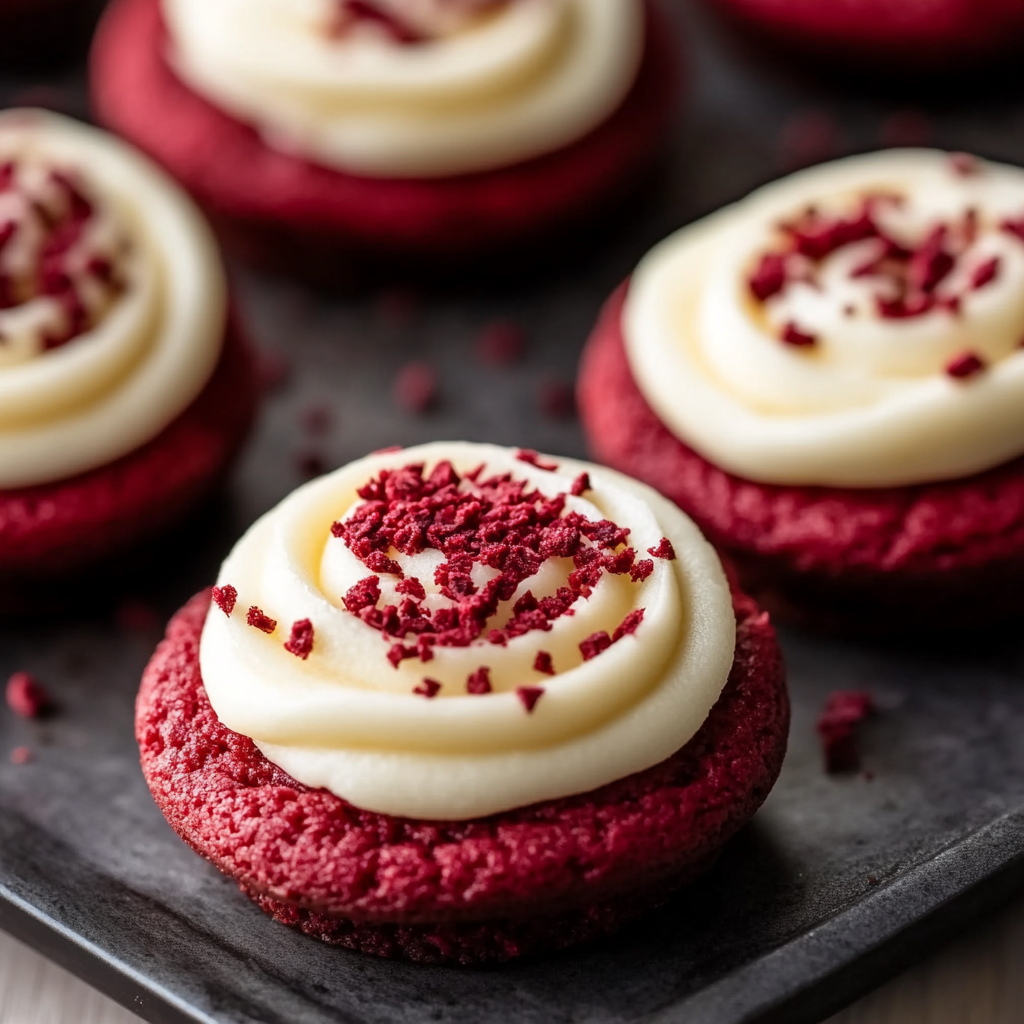
You Must Know
- These keep in an airtight container at room temperature for up to 2 days; refrigerate up to 5 days because of the cream cheese frosting.
- Dough is sticky — use a large scoop for uniform size and to prevent overworking the dough, which can make centers dense.
- Gel or powdered coloring is preferred; avoid liquid food coloring as it can add unwanted moisture and affect texture.
- Cookies freeze well un-frosted for up to 3 months; thaw then frost. Fully frosted cookies also freeze, but texture may be slightly softer after thawing.
My favorite part is how forgiving these are: if one cookie flattens or looks quirky, crumble it and use the crumbs as a pretty, no-fuss garnish. Friends often ask for the recipe after seeing the finished tray because the domed tops look polished, but these are truly a home-kitchen friendly treat.
Storage Tips
Store cooled, frosted cookies in a single layer in an airtight container. If stacking is necessary, place parchment between layers to protect frosting. At room temperature they stay fresh for about 48 hours; because of the cream cheese in the frosting, refrigeration extends shelf life to about 5 days. To retain texture, allow refrigerated cookies to come to room temperature before serving — 20–30 minutes should suffice. For longer storage, freeze unfrosted scooped dough on a sheet until firm, then transfer to a freezer-safe bag for up to 3 months. Thaw overnight in the fridge or bake from frozen, adding a few minutes to the bake time.
Ingredient Substitutions
If you prefer a dairy-free version, use dairy-free margarine and a plant-based cream cheese substitute; results will be slightly less tangy and may benefit from a touch more powdered sugar for structure. Swap 3 tablespoons of oil for an equal amount of melted coconut oil for a subtle coconut note but expect a tender crumb. For a deeper chocolate flavor, use Dutch-process cocoa in place of natural; if you only have liquid food coloring, reduce other liquid slightly, but be cautious — liquid can soften the dough. For egg replacement, a flax egg will work but will alter lift and texture; consider adding an extra 1/4 tsp baking powder if using an egg replacer.
Serving Suggestions
Serve these cookies on a tiered platter for celebrations or packaged in cellophane with ribbon as a charming gift. They pair beautifully with coffee or a lightly sweetened milk; for grown-up gatherings, try them with a creamy mascarpone or a dollop of crème fraîche on the side. Garnish with a few cocoa dusted cookie crumbs or a tiny sprinkle of coarse sugar for sparkle. They’re appropriate for birthdays, Valentine’s Day, bake sales, or as a thoughtful hostess contribution to any potluck.
Cultural Background
Red velvet has American-southern roots tied to classic cakes that combined cocoa, buttermilk, and sometimes vinegar to attain a tender crumb and distinctive color. These cookies nod to that history by using vinegar and a touch of cocoa to evoke the familiar tang and mild chocolate flavor of traditional red velvet cake. The cream cheese topping preserves the classic pairing that popularized red velvet in mid-20th-century American baking and has since become ubiquitous at celebrations across the country.
Seasonal Adaptations
For winter and holiday seasons, intensify the spice with a pinch of cinnamon or cardamom in the dough. In spring, lighten the frosting by folding in a small amount of whipped cream (stabilized with a teaspoon of gelatin) for a cloudier texture. For autumn, add a teaspoon of espresso powder to the dry mix to deepen chocolate notes, or top with candied orange peel for a citrus counterpoint that brightens the sweet tang of cream cheese.
Meal Prep Tips
Portion dough onto a parchment-lined tray, cover tightly, and refrigerate for up to 48 hours before baking; this short chill improves flavor melding and can make dough easier to scoop. For busy weeks, freeze scooped dough balls until solid, transfer to a freezer-safe bag, and bake straight from frozen — add 2–3 minutes to the bake time. Frosting can be made up to two days ahead and kept covered in the fridge; bring to room temperature and briefly re-whip to regain spreadable texture before piping.
These frosted red velvet cupcake cookies bring so much joy to small gatherings and make excellent gifts — I hope they become a staple in your baking rotation as they are in mine. Try them once, and you’ll understand why a cookie can masquerade so well as a miniature celebration.
Pro Tips
Use a large 3–4 tablespoon cookie scoop for uniform size and consistent dome rise.
Chill frosting for 30–60 minutes if it becomes too soft to pipe or spread neatly.
Avoid liquid food coloring; gel or powdered food colorings concentrate pigment without adding liquid.
This nourishing frosted red velvet cupcake cookies recipe is sure to be a staple in your kitchen. Enjoy every moist, high protein slice — it is perfect for breakfast or as a wholesome snack any time.
FAQs about Recipes
Can I freeze the dough or baked cookies?
Yes. You can freeze unfrosted scooped dough on a tray until firm, then transfer to a freezer bag for up to 3 months. Thaw overnight in the fridge and bake as directed, adding a couple of minutes if still partly frozen.
What food coloring should I use?
Use gel or powdered food coloring for best results; liquid food coloring can add moisture and affect texture. If using liquid, add sparingly.
Tags
Frosted Red Velvet Cupcake Cookies
This Frosted Red Velvet Cupcake Cookies recipe makes perfectly juicy, tender, and flavorful steak every time! Serve with potatoes and a side salad for an unforgettable dinner in under 30 minutes.
Ingredients
Red Velvet Cookies
Cream Cheese Frosting
Instructions
Preheat and prepare
Preheat oven to 350°F and line two baking sheets with parchment paper. Position racks in the center of the oven for even baking.
Whisk dry ingredients
In a medium bowl, whisk together flour, cocoa, milk powder, cornstarch, baking powder, baking soda, and salt until evenly combined.
Cream fats and sugars
In a large bowl, whisk butter, oil, brown sugar, and granulated sugar until smooth. Add egg and vanilla, then stir in vinegar and food coloring until vivid.
Fold to form dough
Add dry ingredients to wet and fold until a thick, sticky dough forms. Avoid overmixing to keep interiors tender.
Scoop and bake
Use a 3–4 tablespoon scoop to portion dough 3 inches apart on prepared sheets. Bake 12–15 minutes at 350°F until puffed and edges are just lightly golden.
Cool and frost
Cool cookies on the sheet 5 minutes then transfer to a rack to cool completely. Beat cream cheese and butter smooth, add vanilla and powdered sugar, chill if needed, then pipe or spread onto cooled cookies.
Last Step: Please leave a rating and comment letting us know how you liked this recipe! This helps our business to thrive and continue providing free, high-quality recipes for you.
Nutrition
Did You Make This?
Leave a comment & rating below or tag
@kitchenfunwithmy3sons on social media!
Categories:
You might also like...

10 Minute Immune Boosting Broth
A fast, nourishing broth packed with garlic, ginger, miso, and turmeric to support immunity. Ready in 10 minutes and naturally dairy free, gluten free, and vegan.
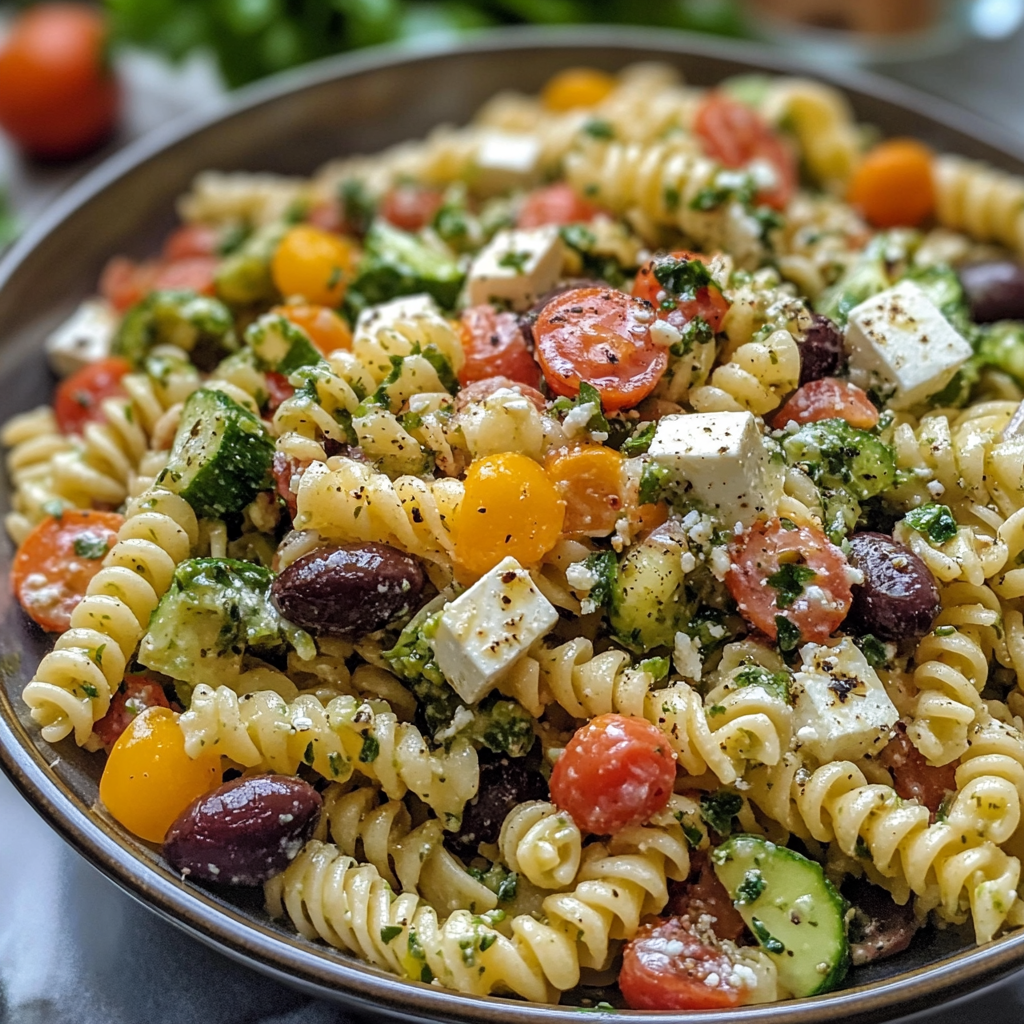
20-Minute Greek Pasta Salad
A bright, quick Greek-style pasta salad loaded with crunchy vegetables, Kalamata olives, tangy feta, and a creamy tzatziki dressing—ready in 20 minutes and perfect for summer gatherings.
Air Fried Crispy Onion
Make perfectly caramelized crispy onions in an air fryer with just a touch of oil for a crunchy, savory topping that elevates any dish.
Did You Make This?
Leave a comment & rating below or tag @kitchenfunwithmysons on social media!
Rate This Recipe
Share This Recipe
Enjoyed this recipe? Share it with friends and family, and don't forget to leave a review!
Comments (1)
This recipe looks amazing! Can't wait to try it.
Comments are stored locally in your browser. Server comments are displayed alongside your local comments.
Hi, I'm Rachel!
What's Popular

Get My 30-Minute Meals email series!
Quick and easy dinner ideas delivered to your inbox.